Shopping Cart


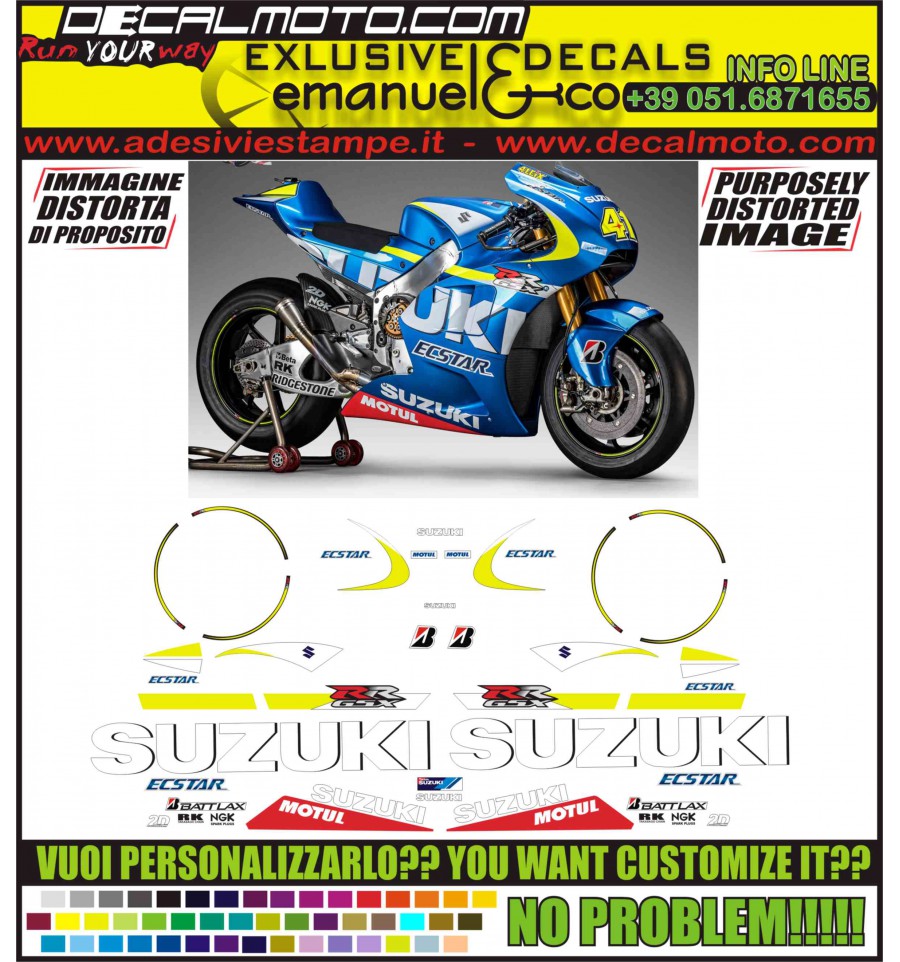
Description and Application of our stickers
All our kits can be customized in color and shape upon request.
Generally, a partial kit is not sold, especially if it corresponds to an "old" vehicle, mixing Replica stickers
to the Originals is not the right solution. the best is to replace all the stickers.
Classic print & cut sticker production process:
- Vector file creation
- choice of various colors from flat to shaded via RAL color table (present in the bar on the homepage) or Roland's ColorChoiceSystem
- cross-stitch printing with a Roland VersaCamm eco-solvent ink plotter on white base vinyl (the plotter does not print metallic, therefore some stickers that would originally be metallic are printed in spot colour).
- the adhesive used is APA cast polymer conformable on curves with anti-bubble system, long-lasting guaranteed 9 years (Italian production) thickness 90 microns or in CRYSTAL usually used in the cross / enduro world (material feasible on request) 500 microns total between base and transparent film.
- Once printed, calendering is applied (ultra crystal transparent adhesive protection) which will protect the print from petrol, bad weather and aggressive liquids of 80 micron thickness
- cutting of the printed and calendered sticker using crosses with Roland S series or Mimaki plotters
- Cleaning the sheet from uncut waste material
- laying of the TAPE (transparent vinyl with low adhesive power) which will be used for a correct application keeping the pre-spaced adhesive aligned
- cutting out all the various components that create the kit
Production process of cut colored vinyl sticker:
- Vector file creation
- Vinyl cutting with Roland or Mimaki plotter of the required color
- laying of the TAPE (transparent vinyl with low adhesive power) which will be used for a correct application keeping the pre-spaced adhesive aligned
- cutting out all the various components that create the kit
DIFFERENCES BETWEEN CAST 180 AND 500 CRYSTAL
We use 2 materials for printing the sticker, the 180 micron cast and the 500 micron crystal cast, they are both anti-bubble polymeric cast PVC
with solvent-based glue. 180 and 500 differ from each other in thickness first of all (one 180 and the other 500),
and the glue base which in 180 has a high adhesiveness and in 500 an ultra adhesiveness.
The 180 is mostly used for daily use of the motorcycle
(the thickness is that of the most common stickers found on original fairings),
while the 500 was created for specialist cross and enduro races, as it is much thicker than a classic 180,
and provides cushioning to the hull in the event of an impact (not to be confused with an anti-crash system for hulls).
ADHESIVE KIT APPLICATION
-Set aside an adequate amount of time
-The optimal temperature for applying stickers must be between 15 and 25 degrees
-Avoid carrying out work in full sun or in the presence of strong winds, and in any case it is better if done indoors
- Carry out the work in the cleanest possible environment
-Clean the components on which you will apply the stickers thoroughly with denatured alcohol or body degreaser to best remove any previous WD40 polish waxes or silicone-based materials, carefully remove the patina on the bodywork (the fairing must be as it was originally, just out of the dealership without having had any "extraordinary" treatment). In such a way that the bodywork is ready, make sure there is no dust, grease, dirt, etc.
-Useful tools to keep handy are a plastic spatula, hot air gun, scissors and cutter
-Fix the sticker with masking tape to understand the proper placement and partially remove the paper from the back of the sticker
--as a first point we recommend starting from a corner, fixing the adhesive and then spreading it over the entire surface, always starting from the edges, once done remove the transparent (tape - adhesive transport film)
-always pass the spatula from the inside of the adhesive towards the outside; if any creases form in one spot, to smooth them out more easily, heat the material slightly with the hot blower.
-The material can be repositioned several times using a low-strength glue during application, then finding the final position and fixing everything with the blower to ensure that the adhesive crystallizes and can release its best adhesion.
-hot air should not exceed 140 degrees, the ideal is 90-110.
-Once the application is finished, check that the adhesive has adhered evenly to the surface. If small air bubbles have formed, you can pierce them with a needle to make the adhesive adhere better, possibly heating with a blower to let the trapped air escape.
Resistant to petrol and atmospheric agents as it is surface calendered with natural polymer calendering. GUARANTEED FOR 9 YEARS.
DO NOT APPLY TO SOAP AND WATER! DRY APPLICATION
The sticker can be placed both under and over transparent.
Guaranteed against solar rays, it does not dry out or fade and can be shaped after heating with a body shop hairdryer on significant curves in terms of angle.
(see our videos on our YouTube channel for correct application)
IF YOU DO NOT KNOW THE MATERIAL TO BE TREATED, IT IS RECOMMENDED TO SEEK HELP FROM A CAPABLE AND/OR PROFESSIONAL PERSON
(if you don't know anyone, look in the "trusted installers" section)
WE DO NOT ACCEPTED COMPLAINTS FOR WORK CARRIED OUT INCORRECTLY BY INEXPERIENCED PERSONS.
OUR KITS ARE REPLICAS, NOT COPIES, NOT ORIGINALS
THEREFORE, DIFFERENCES MAY OCCUR.
ONLY AND EXCLUSIVELY THE MANUFACTURER HAS IT IDENTICAL TO THE ORIGINAL.
FOR ANY DOUBTS OR QUESTIONS YOU MAY HAVE, BOTH PRE AND POST-SALES, WE ARE AT YOUR COMPLETE DISPOSAL